Microsoft Power Automate Desktop and RPA
In our previous article, we talked about Microsoft Power Automate in general. In this article, we’re going to talk in more detail about Microsoft Power Automate Desktop and RPA (Robotic Process Automation), what it is, and how to set it up.
The idea of RPA
RPA is a form of business processes automation in which AI performs repetitive tasks in order to reduce the employees’ workload and free up time for more creative tasks.
The idea of RPA is to record a sequence of actions and operations which later on will be performed by the automated process.
For example, it can be automatic extraction of the key information from emails and documents, and forwarding it to different services, performing specific actions in a browser window, launching apps. All these actions can be done without human participation if an RPA model is correctly set up.
Automation
Users can automate their processes with Microsoft Power Automate service. This service allows creating flows of interaction with data using connectors to lots of data sources. In recent updates of this service, Microsoft enhances robotization capabilities with Power Automate’s flow subtype called UI Flows. This flow subtype allows recording users’ actions in a browser window and later play them back when certain conditions are met.
UI Flow, however, is not the only RPA feature of Power Automate. Not long ago the company introduced Power Automate Desktop. It is a client’s app for installation on users’ PCs. This service allows recording and playing back various actions performed not in a browser, but the client’s apps on the server. This made the automation of repetitive actions easier and more convenient.
Power Automate Desktop installation
Download
On the Power Automate Desktop webpage click Download free to download the set-up file and start the set-up process.
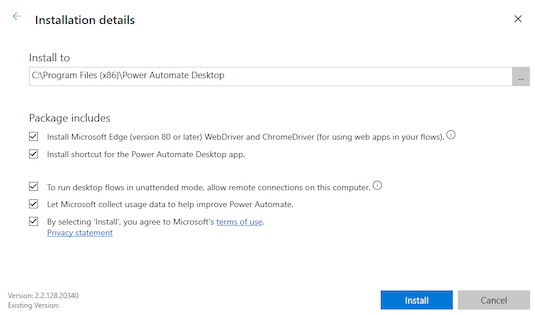
Installation
The installation process is simple. Select the required conditions and click Install.
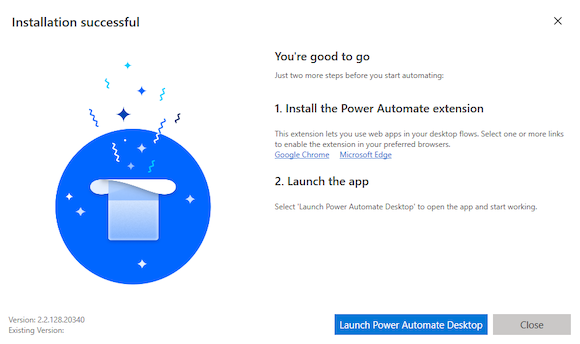
Launch
After the installation is complete, the setup program suggests adding Power Automate extensions for Chrome, Edge, and Firefox browsers and start the Power Automate Desktop app.
After launching the app, you need to log in with your Microsoft 365 account data. Once done, you may start creating a new Power Automate Desktop flow.
After launching the app, you need to log in with your Microsoft 365 account data. Once done, you may start creating a new Power Automate Desktop flow.
How to use Power Automate Desktop
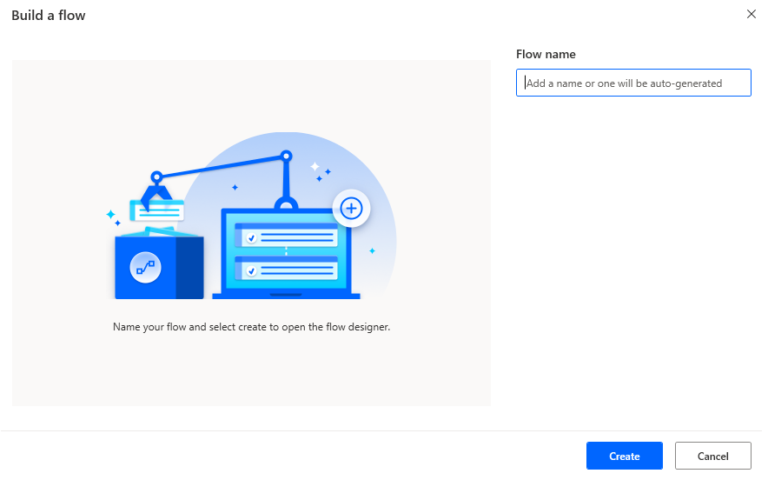
Create a new flow
Try to create a new flow and see what is available. In our example, we create a flow called “Hello Flow”.
Set-up
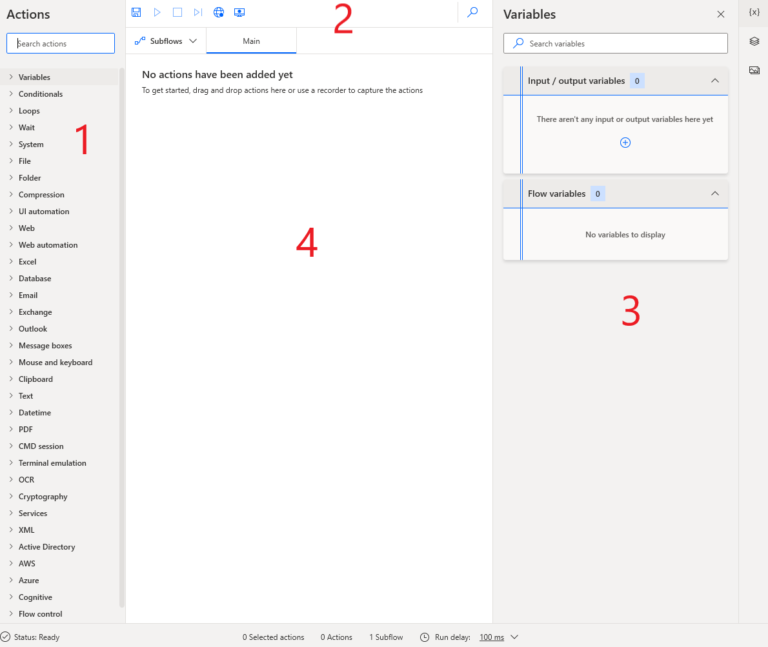
Once the new flow is created, we see a window that has 4 main areas:
- Panel with available actions that can be used in processes automation
- An area with buttons for recording, saving, and playing back actions inside the flow
- Flow variables section
- The main canvas for adding actions
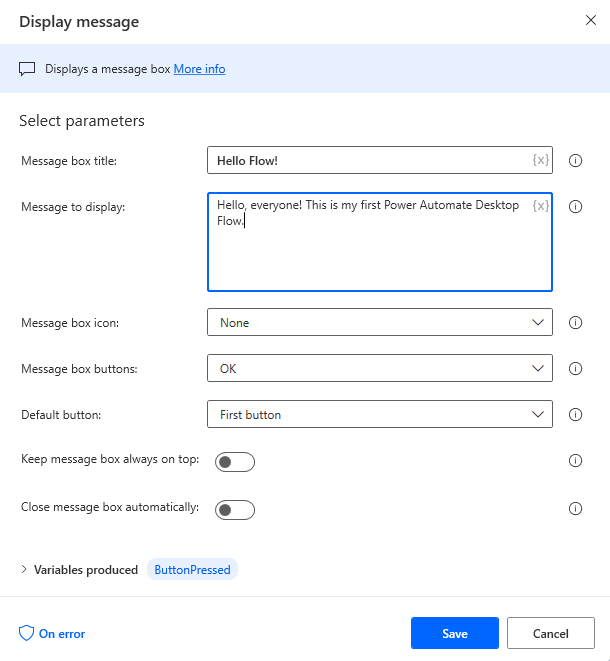
For example, we open “Message boxes” section, select “Display Message” action and place it on the canvas. After this, a window with settings opens automatically. We enter the heading and the message text.
Display message
Save the action, save the flow, and click the Play button to check the result.
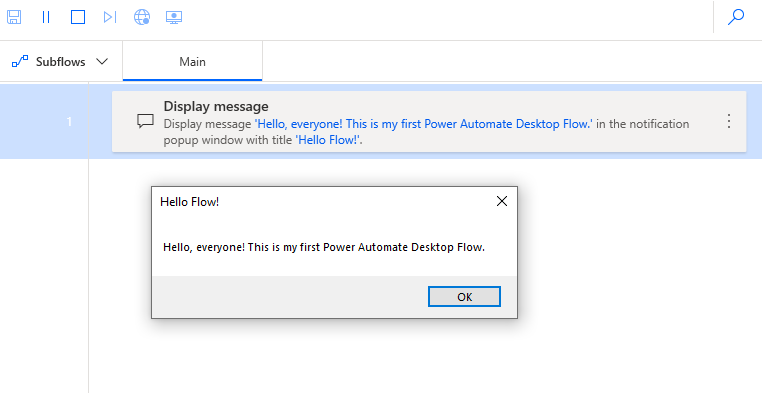
The concept is similar to cloud Power Automate: there is a variety of actions from which you can choose, place the chosen actions on the canvas, and set them up.
Example 2
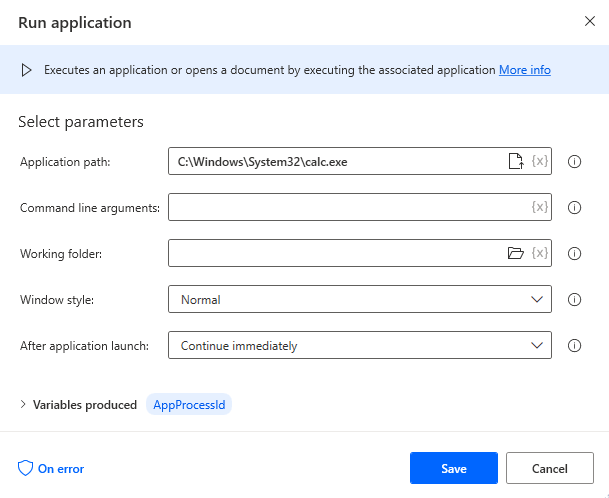
In the next example, we can try something more difficult, such as launching some app and recording actions in it.
In the System section, select Run application action and place it on the canvas. Add the application path. Let it be Windows Calculator, for instance. No more additional settings or arguments specified.
Launch the flow. The calculator opens.
Calculator
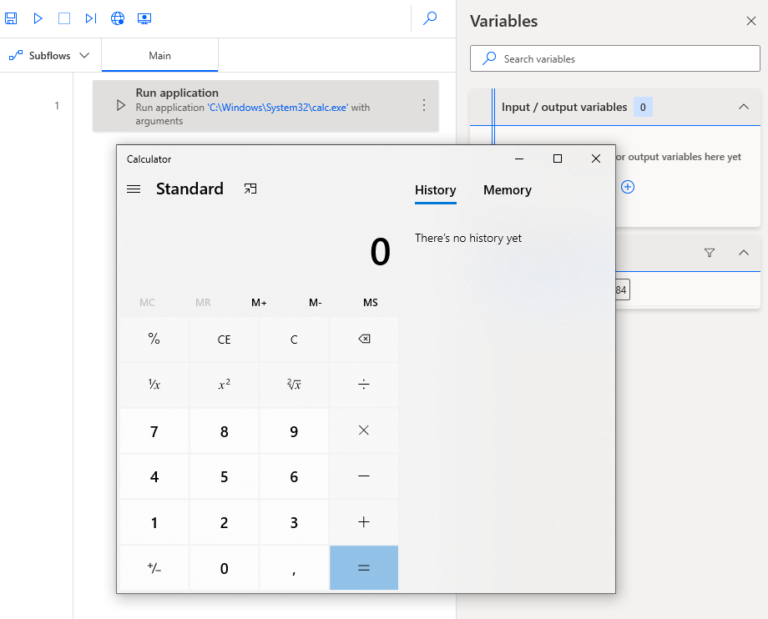
Don’t close the calculator and select the action Click UI element in window in the UI Automation section, place the action on the canvas after launching the app.
UI Automation

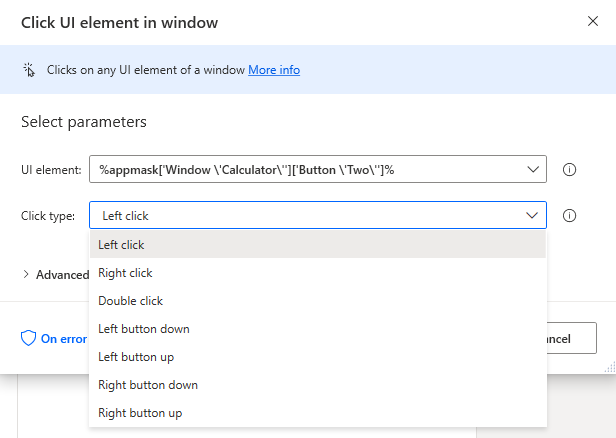
Select Add a new UI element and go to the calculator. We need to record pressing a button. The recording happens with a pressed Ctrl on the keyboard. For example, let’s record pressing 2. Save the recorded action.
Note that it is possible to imitate not only left click, but also right click, double click, and so on.
Adding elements
Now let’s add a few more Click UI element in window actions to record pressing buttons. We need to automate pressing ”2+2=” to get the result ”4”. This means we need to add 4 actions of pressing a button.

Save the flow and launch it
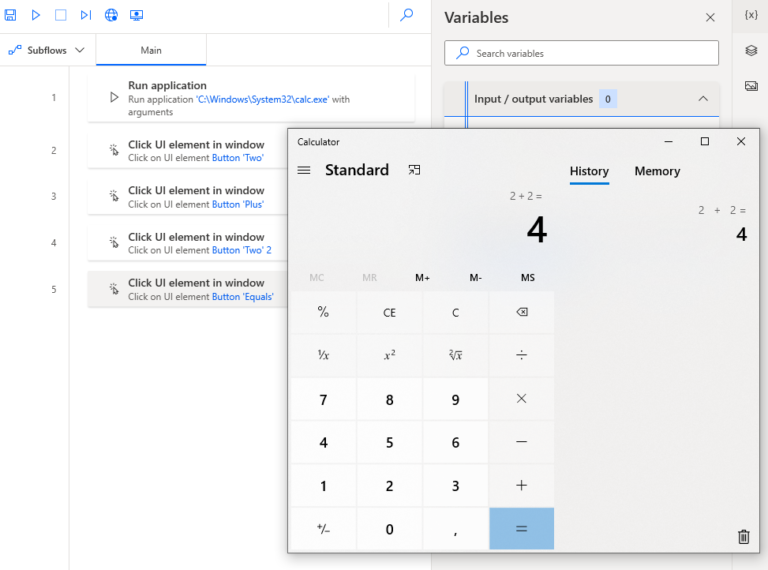
We got the expected result, so our ”robotization” of calculating a simple formula worked out successfully.
Now let’s try one more scenario
Create several variables
When launching cloud Power Automate flow, we want to request input parameters and send them to Power Automate Desktop flow, which in turn will be adding them to an Excel file that is stored in a separate folder on a hard drive. For example, let it be a request for a tax certificate.
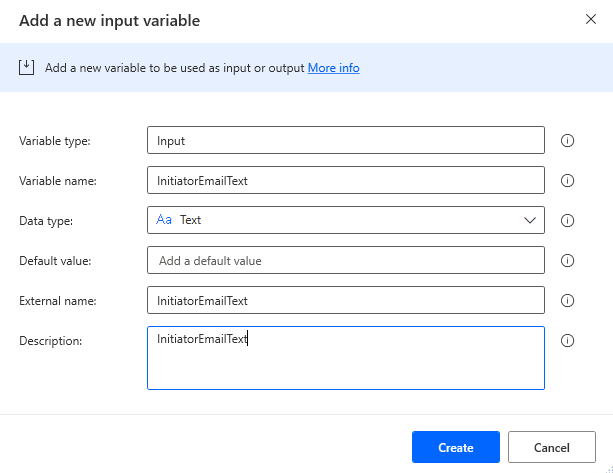
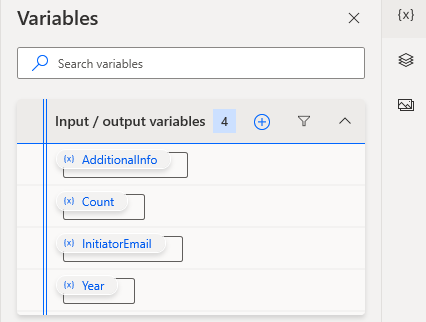
To begin with, let’s create several variables in the Power Automate Desktop flow.
Create several variables
When launching cloud Power Automate flow, we want to request input parameters and send them to Power Automate Desktop flow, which in turn will be adding them to an Excel file that is stored in a separate folder on a hard drive. For example, let it be a request for a tax certificate.
To begin with, let’s create several variables in the Power Automate Desktop flow.
We add 4 variables: initiator email, number of copies (count), year, and additional information.
Create a simple excel file
Next, let’s create a simple excel file that will be filled after running the flow. Just 5 columns in the table.

Open cloud Power Automate
Now open cloud Power Automate and install the on-premises data gateway between Desktop and Cloud.
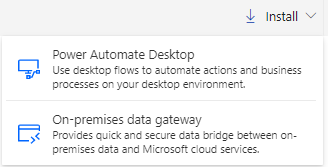
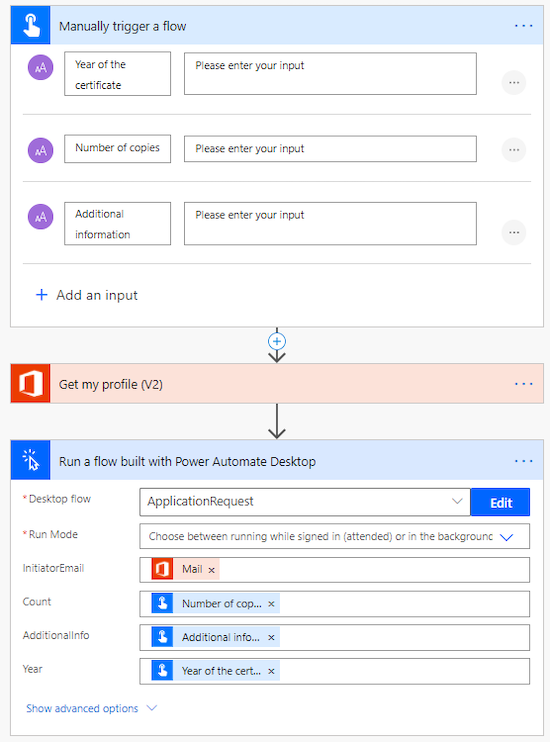
Install and set up the gateway. After this we create an instant configurable Power Automate flow that should be launched by clicking a square start button in the Power Automate Desktop flow.
Configuring the flow
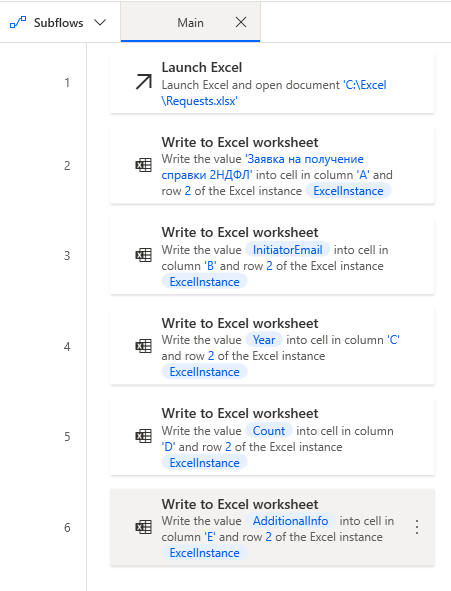
The cloud flow is ready. Now we need to configure Power Automate Desktop flow. Add the Launch Excel action and enter the document path.
Write to Excel worksheet actions
Now let’s add several Write to Excel worksheet actions to fill the Excel file and use input variables, which we define in the cloud Power Automate flow.
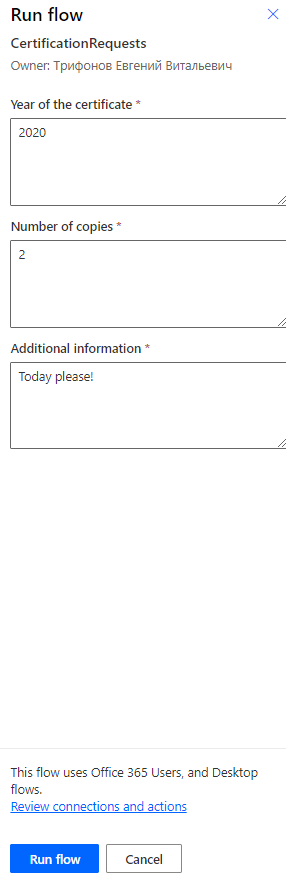
Launch
Go back to the cloud flow and launch it. Specify the input parameters.
Conclusion
As you can see in the resulting table, everything worked well.

To sum up, Power Automate Desktop is a client’s app that integrates with the cloud Power Automate through an on-premises data gateway. Power Automate Desktop allows automating various scenarios such as mouse clicks, creating accounts in Active Directory, creating requests in HelpDesk, interaction with Azure services components, requests to web-services, and much more.
The potential of this app becomes even bigger when used together with cloud services. Start with automating some of your routine tasks to see what it’s capable of, we’re sure you will be able to assign at least some of them to a “robot”.
Need help setting up your Microsoft services? Feel free to get in touch with us.
Basically, with Power Automate Desktop it is possible to “robotize” almost any scenario.